I finally got off the couch and made something with my sewing machine. I am by no stretch of the imagination a seamstress...but I can sew a straight line with my machine and thankfully this project only required straight lines!

I was inspired by another blog that had a shot of her child cuddling with a travel pillow and decided that I wanted to make one for each of my girls for the upcoming road trip to California. It looked simple enough to make and I thought I'd just wing it. I have several extra pillowcases around the house, so it was just a matter of grabbing two of them and then purchasing a big bag of pillow stuffing.

This bag cost me around $4 or $5 at Walmart. I didn't get the basic version as I wanted these pillows to be a bit more fluffy and soft than the other fiber was. This was the next step up.

First things first: clear off my sewing machine and take note of the thread already in there...purple. Eh, good enough. ;) Next, gather the bag of fluff and two pillowcases. I chose bright pink matching ones so that the girls wouldn't fight over them.

Second, stuff a quarter of one of the pillows with fluff. Make sure to push gently into the corners. Then using pins, close up the pillowcase and get ready to sew.


As you sew, make sure to smooth out the fabric underneath. I didn't on the first one and ended up with bunches under my thread, but it wasn't important enough to me to rip out the seam and smooth it out.
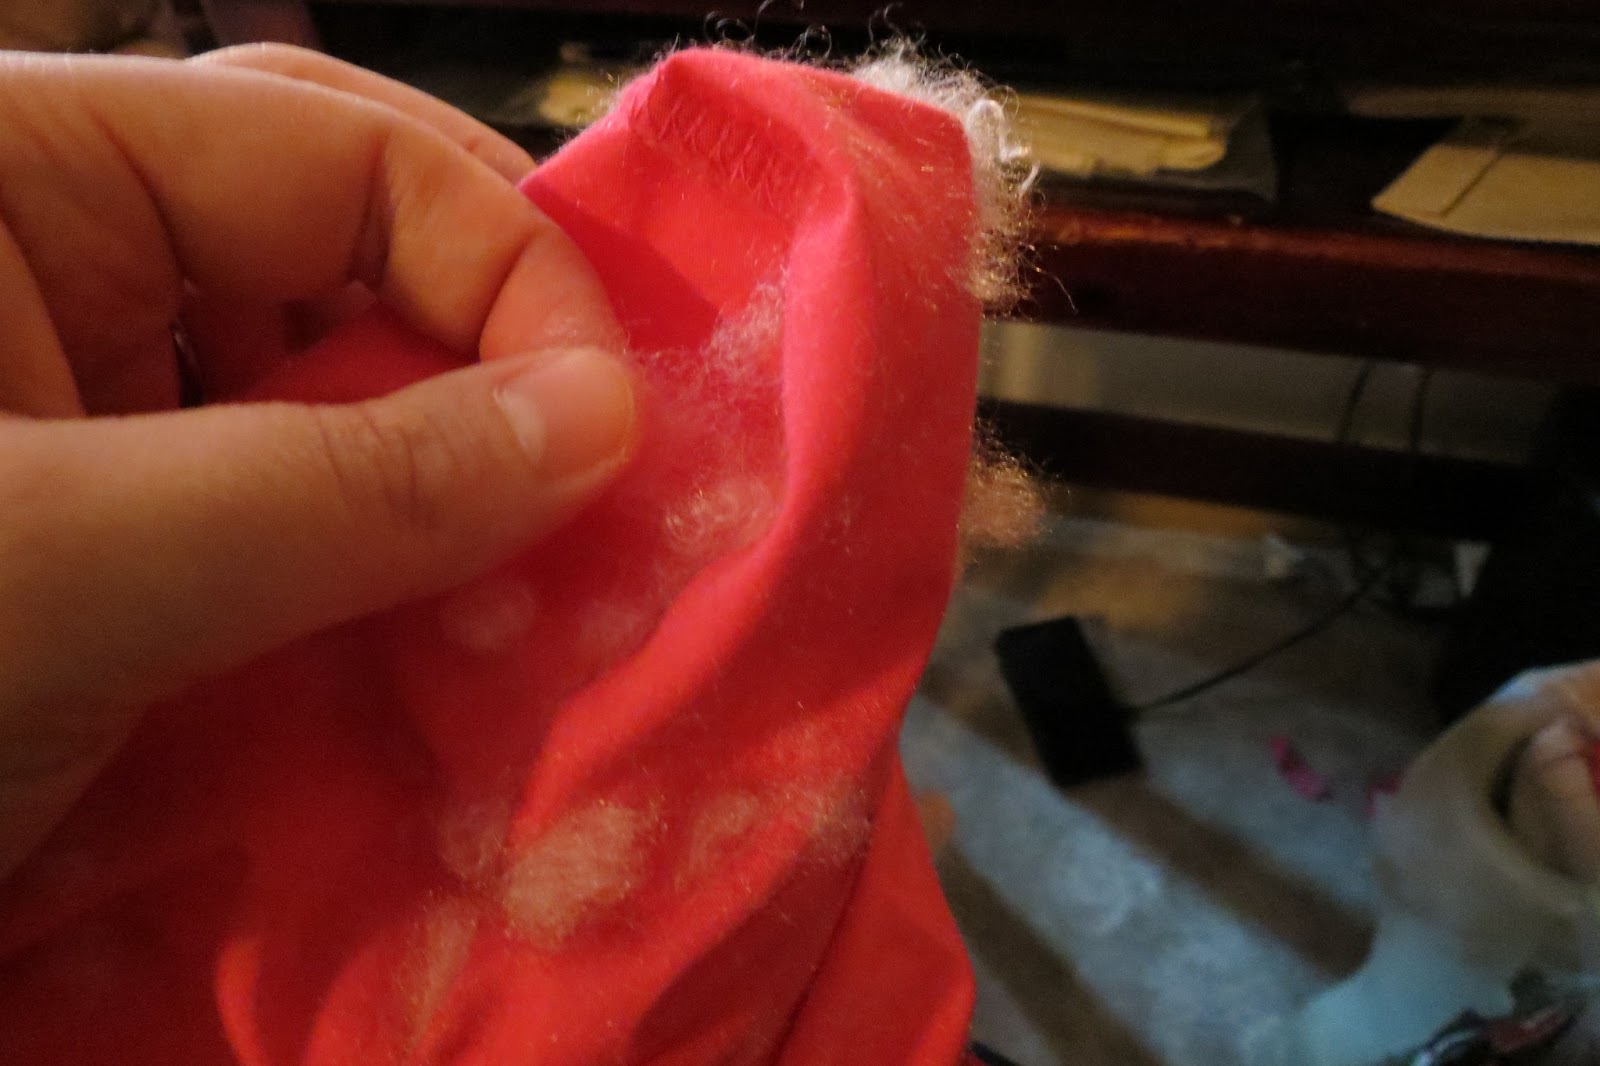

Third, pull the fluff that was caught on the outside of your seam (and even in the seam) out.

Fourth, smooth out the pillowcase and make another line of pins about 2-4 inches away from your first seam. This is where the seat belt will go. Sew that baby shut.

Fifth, stuff more filling in loosely, making sure to push some fluff into the corners of your seat belt buffer seam. I filled it until the pillowcase's original seam and used it as a reference for my final sewing line.

Sixth, pin up the end of the pillowcase (again, I left about 2 inches on the end...maybe I'll take pinking shears and trim it up, but then again, maybe not...) and sew shut. Make sure to pull out any escaping fluff once you're done!

All done! One pillow divided into two pillows with a flat area in the middle. Each pillow took me about 20 minutes to make from start to finish and that bag of fluff was enough for both pillows.

To use: put pillow between rider and seat belt, then fold over on the flat area and cuddle up against the window!


They're not perfect (my kids, either!), but I think they will do the job!
Other posts in the Car Travel Series:
Thank you for this amazing idea. I will be doing this!
ReplyDeleteWe've been vacationers for several years and we've confronted the aggravation of a distressing journey wherever you have to rest however, you just cannot with no journey cushion. That's why we produced this site to simply help all of the vacationers to locate a journey cushion to generally meet their requirements and create your potential journey better!
ReplyDeleteBest Travel Pilow
Travel pillows can prevent neck and back pain and can make your trip much more comfortable and enjoyable. We can help you choose the best travel pillow!
ReplyDeletecar pillow
Be very careful that the pillow doesn’t drag the seat belt into an unsafe position. Leaning on the pillow may make the seatbelt drop below the shoulder so the body isn’t fully protected in a crash.
ReplyDeleteI'm sure the auto manufacturers did not design the seat belt to be used with a pillow underneath it. Not safe at all.
ReplyDelete